使用 XAMPP 架設SSL網站
先將 XAMPP for Linux 安裝包架設起來,接著申請免費憑證步驟如下:
- 到 SSL For Free 註冊,建立新憑證
- 將產生的 xxxxx.txt 下載下來並複製到 /opt/lampp/htdocs/.well-known/pki-validation
- 確認瀏覽器是否可以讀取到該網址的 xxxxx.txt
- 頒發憑證後,將三張憑證放置在 httpd-ssl.conf 所設定的目錄內,如下:
# sudo vi /opt/lampp/etc/extra/httpd-ssl.conf
SSLCertificateFile "/opt/lampp/etc/ssl.crt/certificate.crt"
SSLCertificateKeyFile "/opt/lampp/etc/ssl.key/private.key"
SSLCertificateChainFile "/opt/lampp/etc/ssl.crt/ca_bundle.crt"
將網站從 HTTP 自動導向 HTTPS
# sudo vi /opt/lampp/etc/httpd.conf
檢查 mod_rewrite.so 模組是否已經載入
LoadModule rewrite_module modules/mod_rewrite.so
在文件結尾,增加以下內容:
RewriteEngine On
RewriteCond %{HTTPS} off
RewriteRule (.*) https://%{HTTP_HOST}%{REQUEST_URI}
重新啟動 xampp 服務,檢查網站就會自動導向 https 了
後續記得每90天憑證過期前,要到 SSL For Free 展延憑證。
後記:
在 SSL For Free 註冊的憑證 Renew 2次後,第3次就要付費了
查了網路文章,得知ZeroSSL、SSL For Free、Let's Encrypt 這三者關係如下圖:
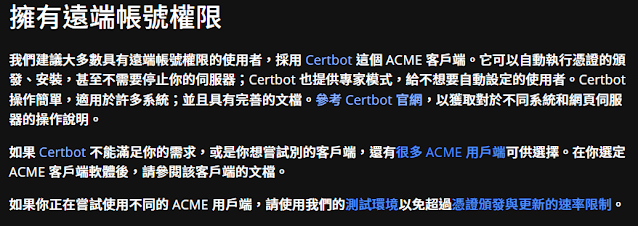
Let's Encrypt 的Getting Started頁面也推薦使用 Certbot
先更新套件
$ sudo apt-get update
$ sudo apt-get -y dist-upgrade
安裝套件
$ sudo apt install certbot python3-certbot-apache
建立憑證前,先停用網站服務
$ sudo /opt/lampp/lampp stop
僅申請證書,而不將其安裝在任何地方
$ sudo certbot certonly --standalone
產生出來的憑證就會在 /etc/letsencrypt/live/網域名稱內,然後再去編輯Apache設定
$ sudo vi /opt/lampp/etc/extra/httpd-ssl.conf
SSLCertificateFile "/etc/letsencrypt/live/網域名稱/fullchain.pem"
SSLCertificateKeyFile "/etc/letsencrypt/live/網域名稱/privkey.pem"
最後啟動服務,就完成了。
$ sudo /opt/lampp/lampp start
更改憑證過期通知e-mail信箱
certbot update_account --email yourname+1@example.com


留言